Coping/Waterline Products: Installation Procedures
9 inch Coping/Waterline
The
13 inch Coping/Waterline
The
8 inch RicoRock® Tile
The
Stone Veneer
Stone veneer is available in 4
Installation Procedures
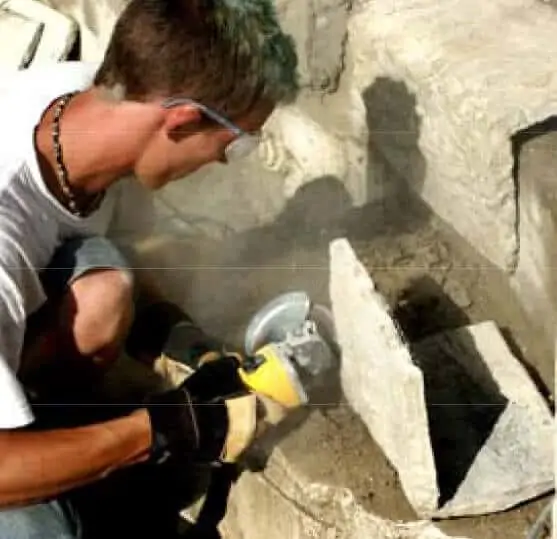
RicoRock® castings can be cut with a grinder type cutting tool. Be sure to spray a stream of water to minimize dust and use eye protection. Cut edges can be tooled with a grinder, not patched.
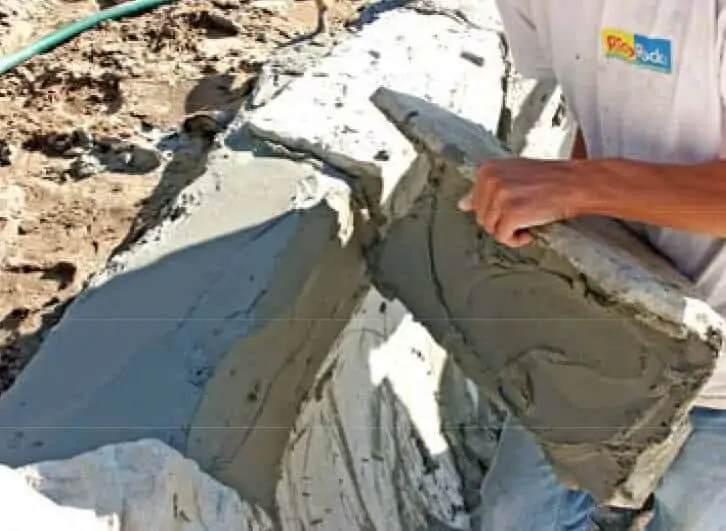
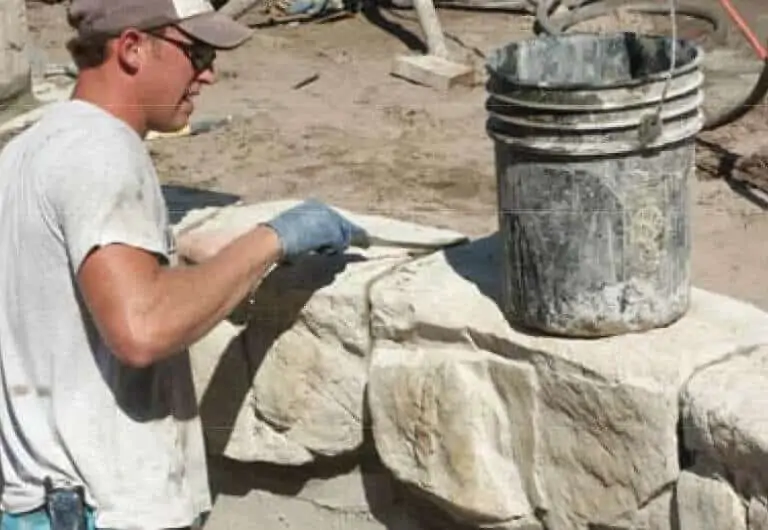
Coping/Waterline pieces should be applied after the waterline area has been waterproofed. A rich mortar should be used and the coping pieces and the contact area should each have ½ inch of mortar. You may need to shim up the top edge to create a 2 or 3 inch coping to match the deck height.
Mortar should be allowed to set before cleaning the joints to avoid smearing the cast pieces. It is not recommended to try and blend the pieces together because the joints are hard to texture and likely to have hairline cracks.
Staining to individualize the cast pieces should be done before setting the coping to avoid coloring the mortar joints. A sealer like Deck O Shield will protect coping from concrete pours and from damage in
RicoRock® Waterproofing should be applied with a brush to the pool waterline area, two even coats, before mortaring any cast rock below
Mixing can be done by hand but a mixing paddle on a small drill is better. The consistency should be like mayonnaise.
Applying the first coat to porous gunite will result in air bubbles that should be brushed away as it dries. Brush at least 1 inch past the finish rock line so the pool finish treatment overlaps; there will not be a bonding problem.
RicoRock® Waterproofing is a hydraulic cement designed for fast installations:
- It has a dry polymer for
better bond, no additional polymer is needed - It mixes with clean water, no false set is required
- It can be applied immediately and dries in one hour in warm weather
- A second coat or finish can be applied while it is still damp
- It comes in a weatherproof
5 gallon bucket - One bucket is 50 lbs and covers 200-300
sq ft
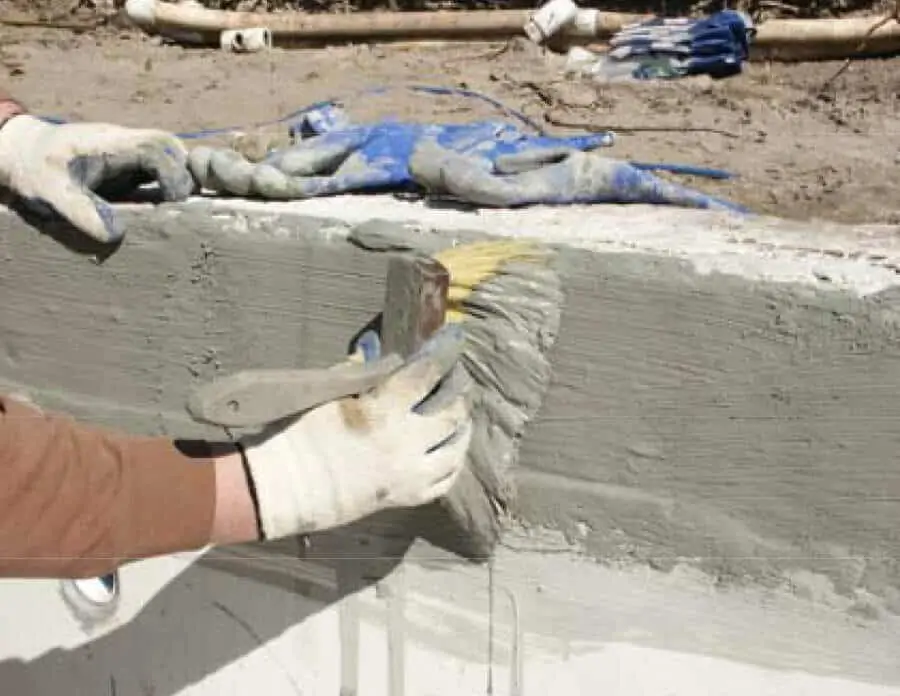
Waterproofing can also be used to patch a damaged casting. It will bond well and is easy to blend in and texture with a damp paint brush. It will dry the same color as our castings and can be colored with Acrylic Stain.
Notched Boulders
Notched Boulders are used in both concrete and fiberglass pools so it appears the pool was built around the boulders. It is a good idea to dry set boulders to get a look at how various boulders fit together before committing to
Boulders should be mortared to a concrete pad with one to two inches of mortar. Waterline area must be waterproofed before installing boulder.
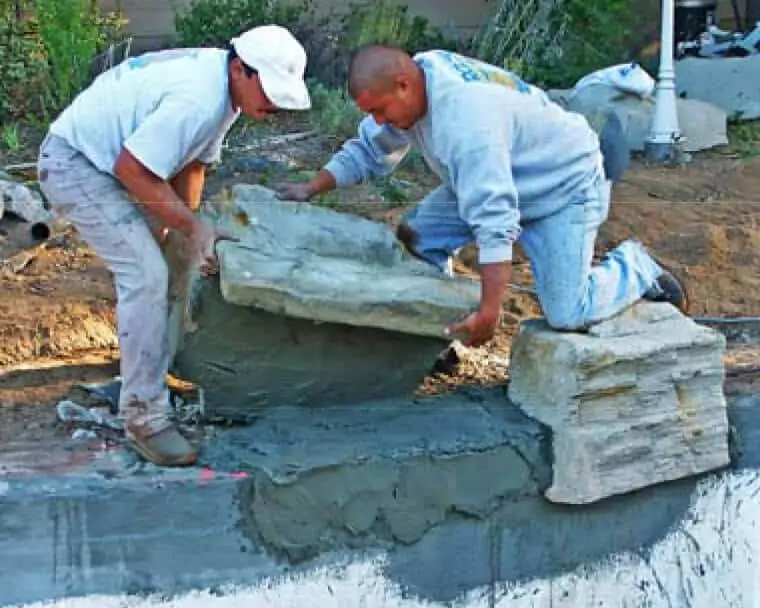
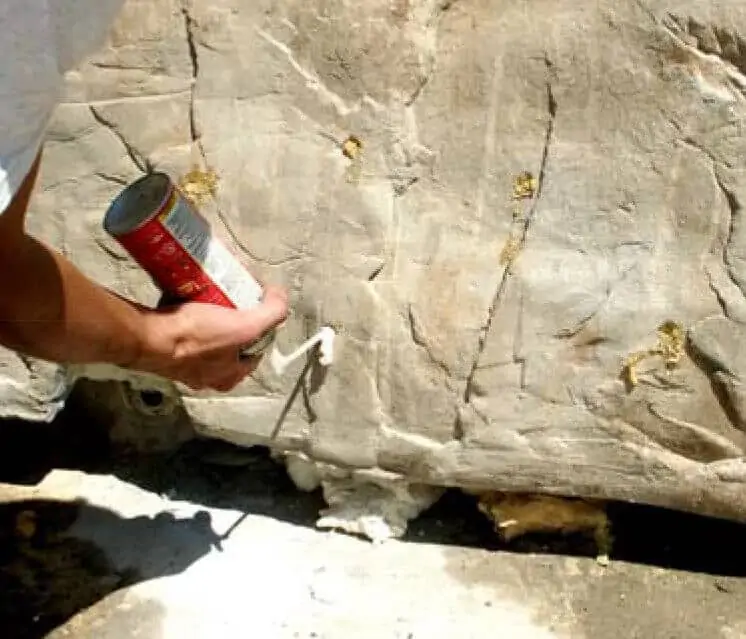
When installing on a bond beam radius there will be a gap between the boulder and the pool wall. This void should be filled with mortar, which is difficult, or with expanding foam after the mortar is set. For very large notched boulders a half inch hole can be drilled in the rock lip to inject the foam into
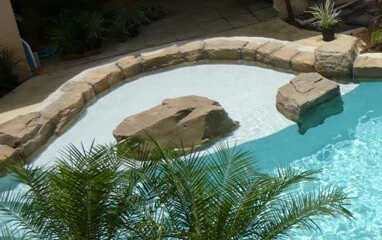
Notched boulders look great and work well submerged in the pool on a reef step but they must be special ordered. They must either be filled with a closed cell foam or ordered as hollow boulders to be filled with concrete.There should never be a void between a rock surface and the pool because the trapped water will not be circulated and treated.
Coping/Waterline PDF
Download the Coping/Waterline PDF.
Installation on a Fiberglass Pool
View tips for installation on a fiberglass pool.